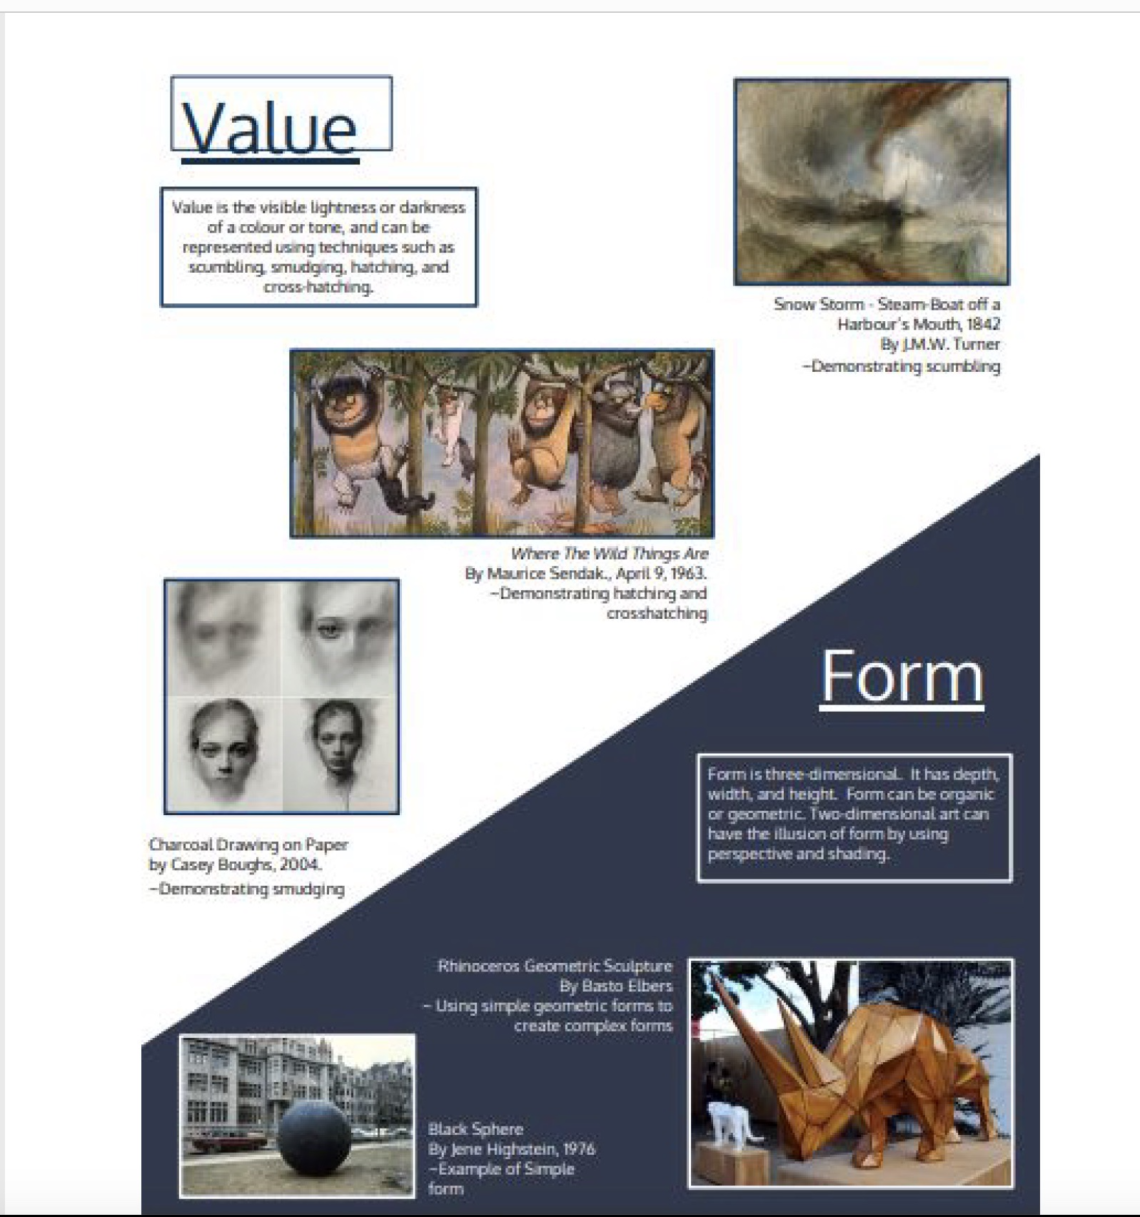
ARTWORKS
Object Value Drawing:
After exploring light and value students are able to represent their understanding through drawing. I love value sketching, and most of my art background involves using the pencil to blend and shade to create value and depth.
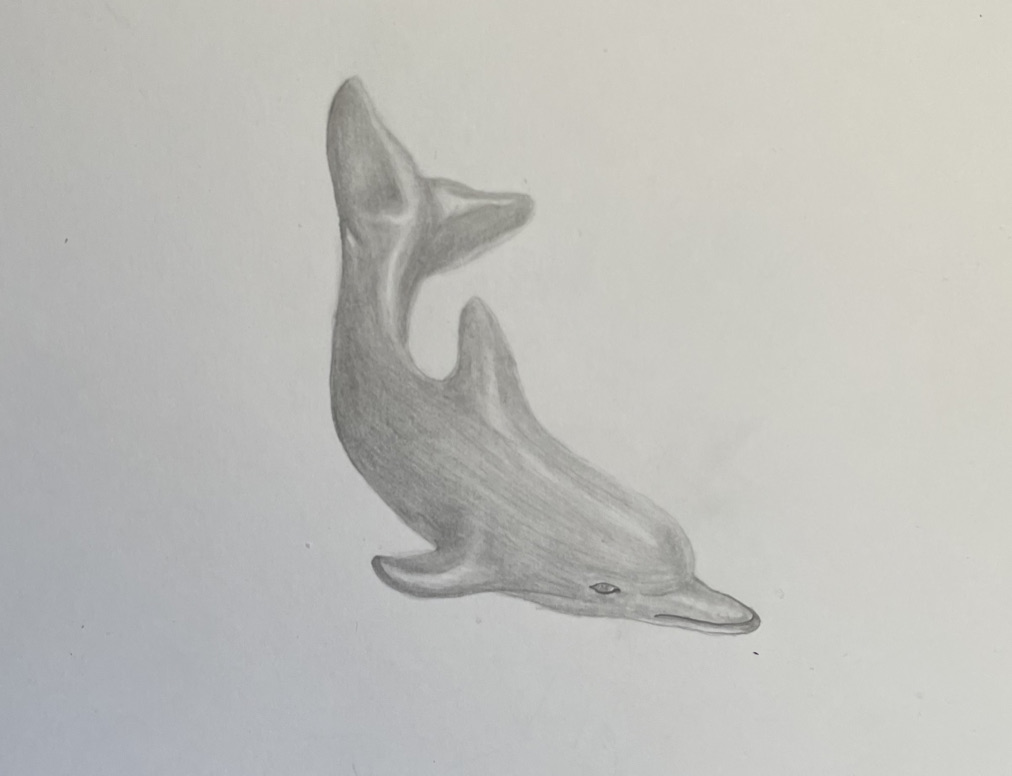
Instructions: Ask students to find a basic object that reflects light and does not have texture, such as a mug. Show students how one light source displays different values and light on the object. Have students discuss what light sources they see and what values are distinguishable. Have students try step by step by drawing the darkest values first, then medium, and then the lightest, this way students do not draw too harshly. Students are able to develop an understanding of value and pencil shading.
Materials:
- Watercolor paper
- Pencil
- Basic object, no texture
Self Portrait:
For this assignment have students take or choose a photo of themselves that displays expression. This assignment was my personal favorite and I chose this photo from the time I was in Maui, and I quite clearly I show how much I love the ocean and the sun with my facial and body expression.
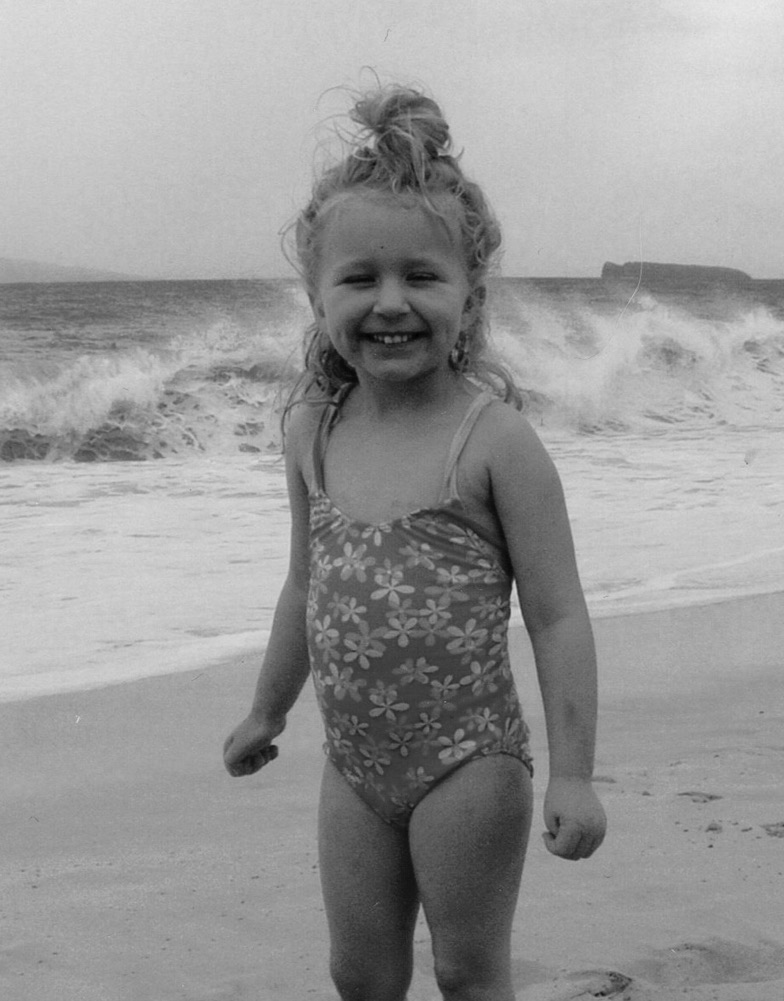
Then using our value understandings we were able to draw and recreate these expressive photos. This assignment took me a long time, however, I am really proud of my work, and how it turned out.
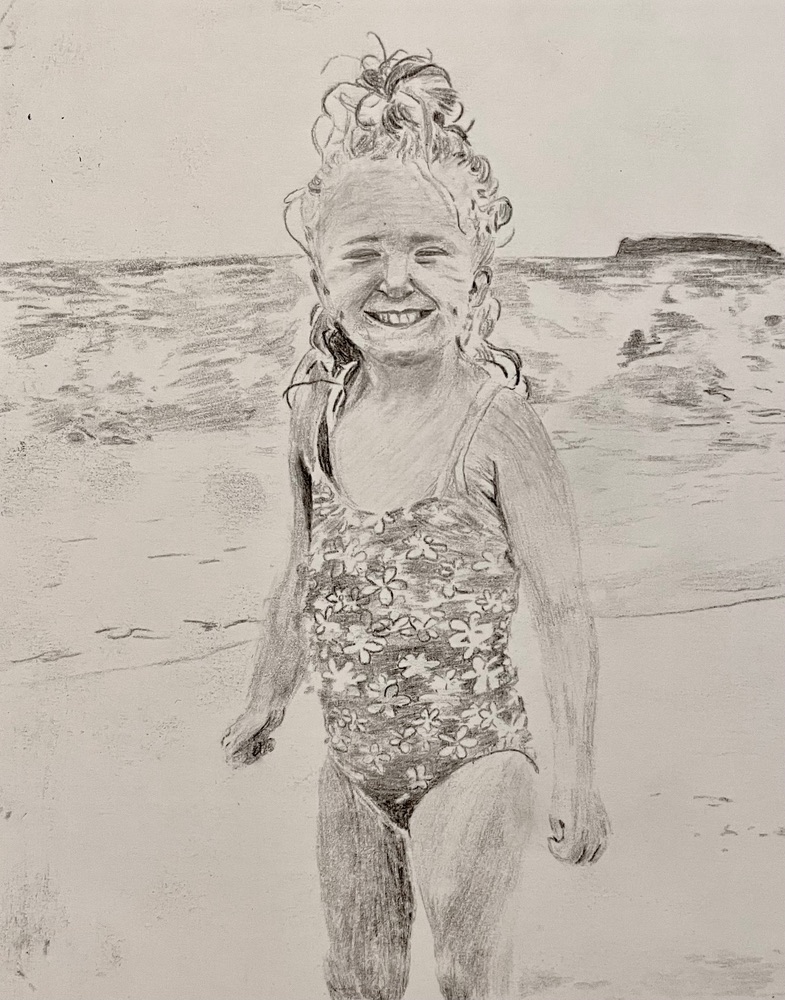
Instructions: As stated above have students choose an expressive photo of themselves to represent value. Students then use carbon paper to create value and print out a balck and white version of the photo to have a clear respresentation of dark and light shadows. Place the carbon paper shiny side down on watercolour paper, and then place the print out photo on top, secure them with a piece of tape or a paper clip. Allow studnets the choice of including the background or not. Using a pencil or pen start shading the image. Have the studnets start with the darkest shadows to test out how much pressure they are able to use to have the image appear as dark as they need, and then move on to the light shadows. Make sure students look back and forth to see their progress and make sure the shading is showing up. Once studnets are done have them erase and touch up thier piece with pencil.
Materials:
- Carbon Paper
- Watercolor paper
- photograph (black and white)
- pencil or pen
- paper clip or tape
- eraser